Rainwater Harvesting Filtration Setup
Introduction to Rainwater Harvesting and Filtration
Rainwater harvesting has been practiced for millennia, but modern water scarcity issues have renewed interest in this sustainable practice. Collecting rainwater reduces reliance on municipal supplies, lowers utility bills, and mitigates stormwater runoff. However, untreated rainwater can carry contaminants like dust, bird droppings, and airborne pollutants. A filtration system ensures the water is safe for irrigation, household use, or even drinking. This guide explores how to design, install, and maintain a rainwater filtration setup tailored to your needs.
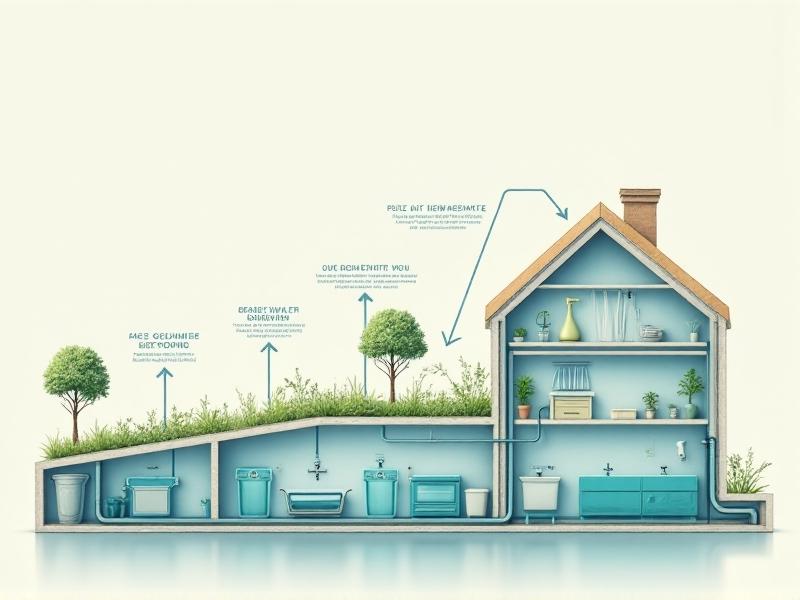
Core Components of a Rainwater Filtration System
A robust system includes gutters, leaf screens, first-flush diverters, storage tanks, and filtration units. Gutters direct water from the roof to the storage tank, while leaf screens block debris. First-flush diverters discard the initial runoff, which often contains the most contaminants. Storage tanks, typically made of polyethylene or concrete, must be UV-resistant and opaque to prevent algae growth. Filtration units range from simple mesh filters to advanced multi-stage systems. Each component works in harmony to ensure water quality.
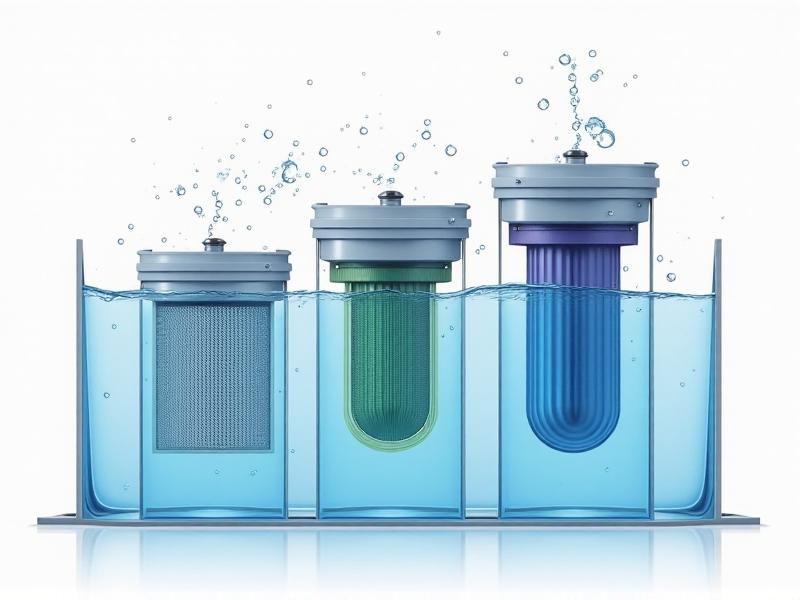
Types of Filtration Methods: Choosing the Right Filter
Mechanical filters, like mesh and sediment filters, physically trap particles. Activated carbon filters remove organic compounds and odors, while UV purifiers neutralize pathogens. For irrigation, a basic sediment filter may suffice, but potable water requires a multi-stage approach. Sand filters offer low-cost biological filtration, and ceramic filters are durable but require frequent cleaning. Assess your water use goals and local contaminant risks to select the optimal combination.
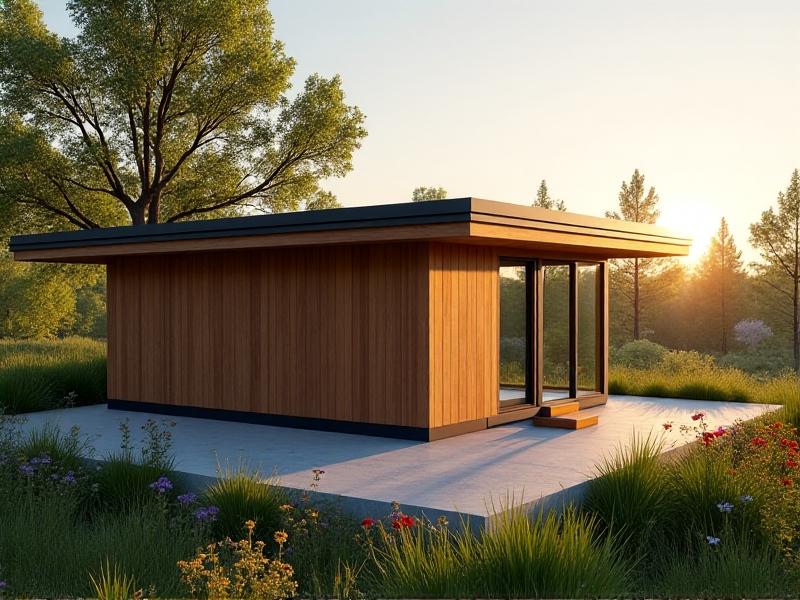
Designing Your Rainwater Harvesting Setup
Start by calculating your roof’s catchment area and local rainfall patterns to determine storage needs. Metal roofs are ideal for cleanliness, while asphalt shingles may require extra filtration. Position tanks close to downspouts and intended use areas to minimize plumbing complexity. Incorporate overflow outlets to handle heavy rains. For urban settings, consider space-saving slimline tanks, while rural systems might prioritize large-capacity cisterns.

Step-by-Step Installation Guide
Begin by cleaning gutters and installing leaf screens. Attach a first-flush diverter to the downspout, ensuring it empties away from foundations. Place the storage tank on a level, reinforced base—concrete pads work well. Connect the tank inlet to the diverter using food-grade PVC pipes. Install a pre-tank filter and a post-tank purification system based on your needs. Test the system with a hose before the first rain.

Maintenance Best Practices for Long-Term Efficiency
Clean gutters and leaf screens seasonally to prevent clogs. Inspect first-flush diverters monthly during rainy periods—remove debris and reset the mechanism. Drain and scrub storage tanks annually; use a non-toxic disinfectant for potable systems. Replace carbon filters every 6–12 months and check UV bulbs for functionality. Winterize systems in freezing climates to avoid pipe damage.

Health and Safety: Ensuring Water Quality
Test water annually for bacteria, nitrates, and pH levels. Use NSF-certified filters for drinking water and avoid stagnant storage—incorporate aeration devices if needed. Screen tank inlets to keep out insects and rodents. In fire-prone areas, install brass valves compliant with bushfire safety standards. Always follow local regulations for rainwater use in residential areas.
DIY vs. Commercial Systems: Pros and Cons
DIY setups cost 50–70% less but require technical skill. Use food-grade barrels and off-the-shelf filters for simplicity. Commercial systems offer warranties and professional installation but may lack customization. Hybrid approaches—like pairing a pre-made filter with a homemade barrel—balance cost and reliability. For critical uses like drinking water, lean toward certified commercial solutions.
Cost Analysis and Environmental Benefits
A basic 1,000-liter DIY system costs $300–$800, while commercial installations range from $2,000–$5,000. Long-term savings on water bills offset initial costs within 5–10 years. Environmentally, rainwater harvesting reduces erosion and lowers energy use from municipal water treatment. In cities, widespread adoption could decrease combined sewer overflow events during storms.
Case Studies: Successful Rainwater Filtration Projects
In Austin, Texas, a 10,000-gallon system irrigates a community garden, using sand and carbon filters. A Melbourne family meets 80% of their household needs with a rooftop setup featuring UV purification. In Rajasthan, India, ancient stepwell-inspired systems combined with modern filters have revitalized drought-hit villages. These examples prove scalability and adaptability across climates.